Note
This page is a reference documentation. It only explains the function signature, and not how to use it. Please refer to the user guide for the big picture.
8.10.10. nilearn.plotting.plot_stat_map
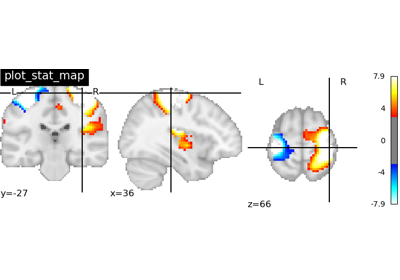
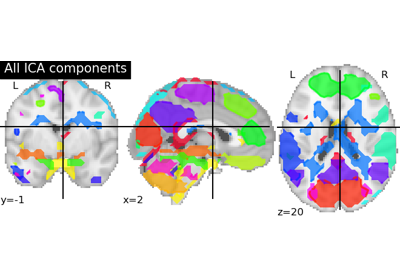
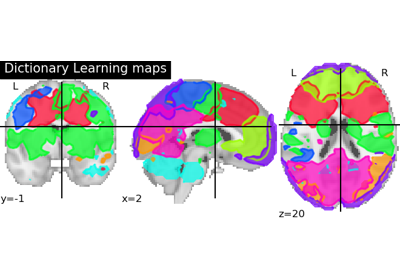
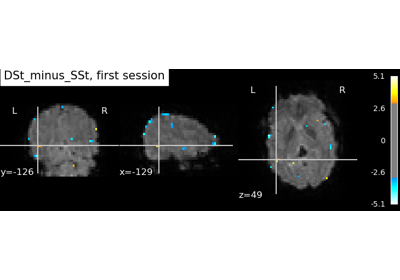
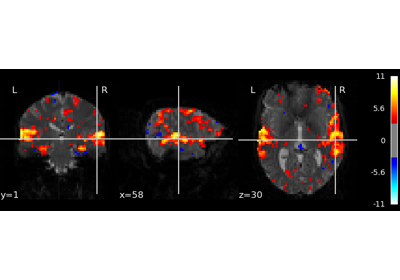
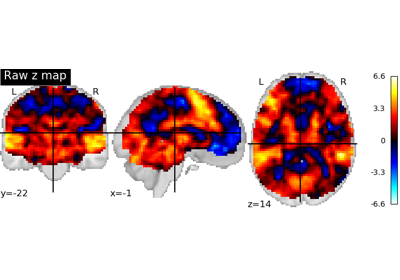
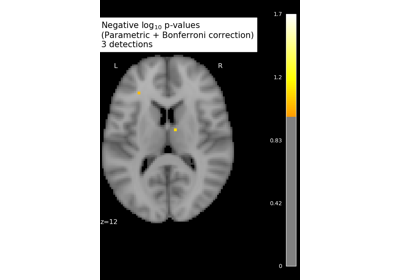
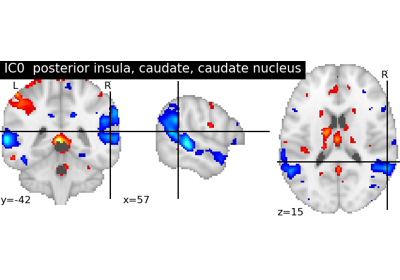
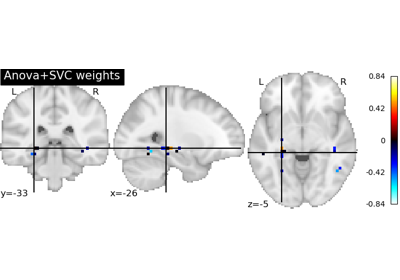
nilearn.plotting.plot_stat_map(stat_map_img, bg_img=<MNI152Template>, cut_coords=None, output_file=None, display_mode='ortho', colorbar=True, figure=None, axes=None, title=None, threshold=1e-06, annotate=True, draw_cross=True, black_bg='auto', cmap=<matplotlib.colors.LinearSegmentedColormap object>, symmetric_cbar='auto', dim='auto', vmax=None, resampling_interpolation='continuous', **kwargs)¶Plot cuts of an ROI/mask image (by default 3 cuts: Frontal, Axial, and Lateral)
Parameters: stat_map_img : Niimg-like object
See http://nilearn.github.io/manipulating_images/input_output.html The statistical map image
bg_img : Niimg-like object
See http://nilearn.github.io/manipulating_images/input_output.html The background image that the ROI/mask will be plotted on top of. If nothing is specified, the MNI152 template will be used. To turn off background image, just pass “bg_img=None”.
cut_coords : None, a tuple of floats, or an integer
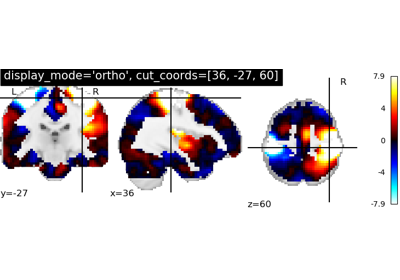
The MNI coordinates of the point where the cut is performed If display_mode is ‘ortho’ or ‘tiled’, this should be a 3-tuple: (x, y, z) For display_mode == ‘x’, ‘y’, or ‘z’, then these are the coordinates of each cut in the corresponding direction. If None is given, the cuts is calculated automaticaly. If display_mode is ‘x’, ‘y’ or ‘z’, cut_coords can be an integer, in which case it specifies the number of cuts to perform
output_file : string, or None, optional
The name of an image file to export the plot to. Valid extensions are .png, .pdf, .svg. If output_file is not None, the plot is saved to a file, and the display is closed.
display_mode : {‘ortho’, ‘tiled’, ‘x’, ‘y’, ‘z’, ‘yx’, ‘xz’, ‘yz’}
Choose the direction of the cuts: ‘x’ - sagittal, ‘y’ - coronal, ‘z’ - axial, ‘ortho’ - three cuts are performed in orthogonal directions, ‘tiled’ - three cuts are performed and arranged in a 2x2 grid.
colorbar : boolean, optional
If True, display a colorbar on the right of the plots.
figure : integer or matplotlib figure, optional
Matplotlib figure used or its number. If None is given, a new figure is created.
axes : matplotlib axes or 4 tuple of float: (xmin, ymin, width, height), optional
The axes, or the coordinates, in matplotlib figure space, of the axes used to display the plot. If None, the complete figure is used.
title : string, optional
The title displayed on the figure.
threshold : a number, None, or ‘auto’
If None is given, the image is not thresholded. If a number is given, it is used to threshold the image: values below the threshold (in absolute value) are plotted as transparent. If auto is given, the threshold is determined magically by analysis of the image.
annotate : boolean, optional
If annotate is True, positions and left/right annotation are added to the plot.
draw_cross : boolean, optional
If draw_cross is True, a cross is drawn on the plot to indicate the cut plosition.
black_bg : boolean, optional
If True, the background of the image is set to be black. If you wish to save figures with a black background, you will need to pass “facecolor=’k’, edgecolor=’k’” to matplotlib.pyplot.savefig.
cmap : matplotlib colormap, optional
The colormap for specified image. The ccolormap must be symmetrical.
symmetric_cbar : boolean or ‘auto’, optional, default ‘auto’
Specifies whether the colorbar should range from -vmax to vmax or from vmin to vmax. Setting to ‘auto’ will select the latter if the range of the whole image is either positive or negative. Note: The colormap will always be set to range from -vmax to vmax.
dim : float, ‘auto’ (by default), optional
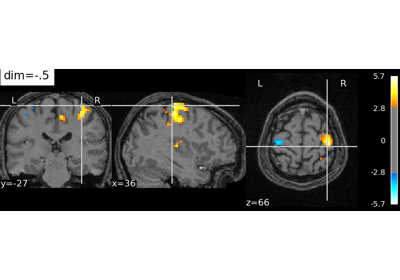
Dimming factor applied to background image. By default, automatic heuristics are applied based upon the background image intensity. Accepted float values, where a typical scan is between -2 and 2 (-2 = increase constrast; 2 = decrease contrast), but larger values can be used for a more pronounced effect. 0 means no dimming.
vmax : float
Upper bound for plotting, passed to matplotlib.pyplot.imshow
resampling_interpolation : str
Interpolation to use when resampling the image to the destination space. Can be “continuous” (default) to use 3rd-order spline interpolation, or “nearest” to use nearest-neighbor mapping. “nearest” is faster but can be noisier in some cases.
See also
nilearn.plotting.plot_anat- To simply plot anatomical images
nilearn.plotting.plot_epi- To simply plot raw EPI images
nilearn.plotting.plot_glass_brain- To plot maps in a glass brain
Notes
Arrays should be passed in numpy convention: (x, y, z) ordered.
For visualization, non-finite values found in passed ‘stat_map_img’ or ‘bg_img’ are set to zero.
